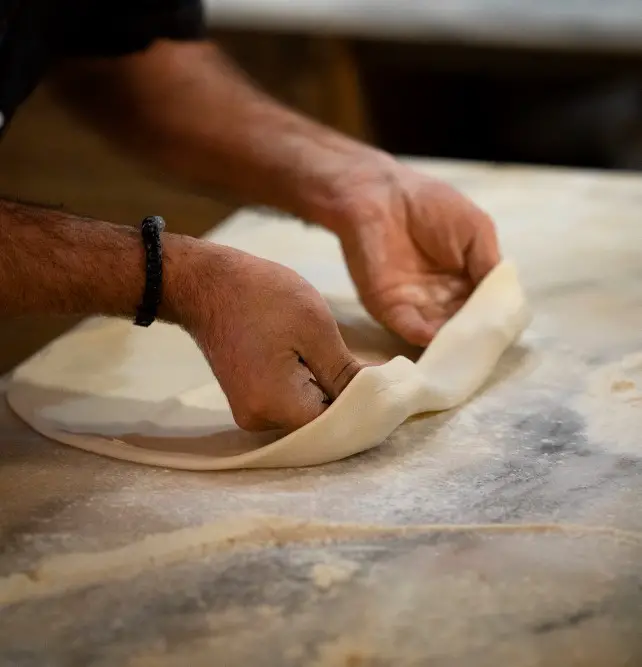
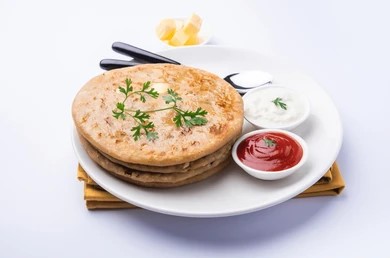
Hey there, foodies 🥐✨
Homemade phyllo dough might sound intimidating, but I promise it’s easier than you think! Today, I’m going to walk you through a foolproof recipe that’ll make you feel like a pastry superhero. 🦸♀️🥐
Table of Contents
The Intimidation Factor (Let’s Bust It!)
Phyllo dough may sound a little fancy, but it really is just flour, water, and a tiny bit of courage. No kidding! Most folks get it frozen already made, but in the case of homemade, whoa – it’s like finding out you’ve got a superpower in your kitchen.
What You’ll Need:
- 2½ cups All-purpose flour (the unsung hero)
- ¾ cup Warm water
- 2 tbsp Olive oil
- A pinch of salt
Equipment
- Large mixing bowl
- Clean kitchen towel or tablecloth
- Pastry brush
- Rolling pin (optional)
Detailed Process
1. Mixing the Dough
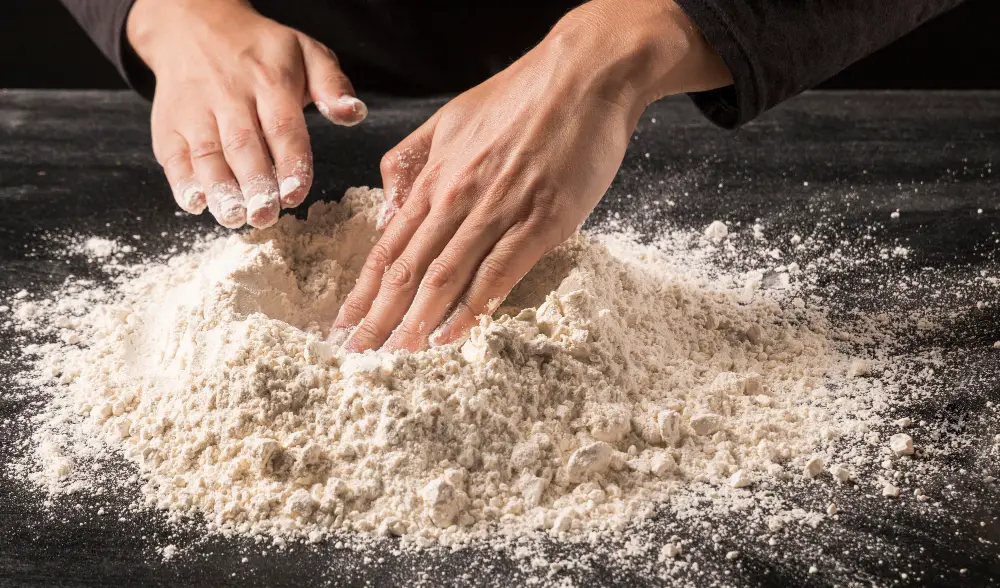
- To make the dough, combine flour and salt in a large mixing bowl.
- Then, make a well in the center and add warm water and olive oil.
- Gradually combine the ingredients until a soft dough forms.
2. Kneading
- Knead dough on a floured surface for 8-10 minutes
- Aim for smooth, elastic consistency
- Dough should feel soft and not sticky
3. Resting
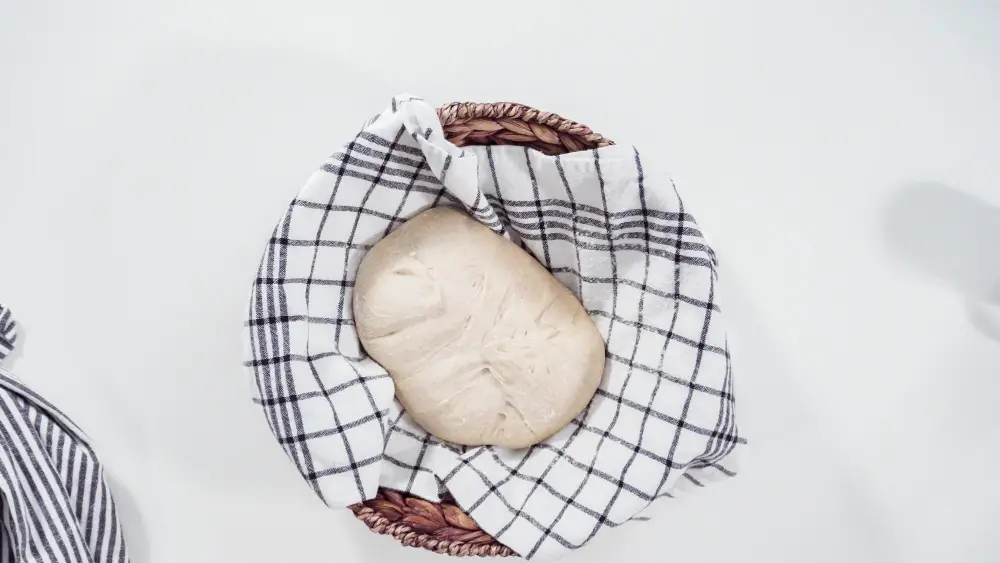
- Cover dough with a damp cloth
- Let rest at room temperature for 30-45 minutes
- Allows gluten to relax, making dough more pliable
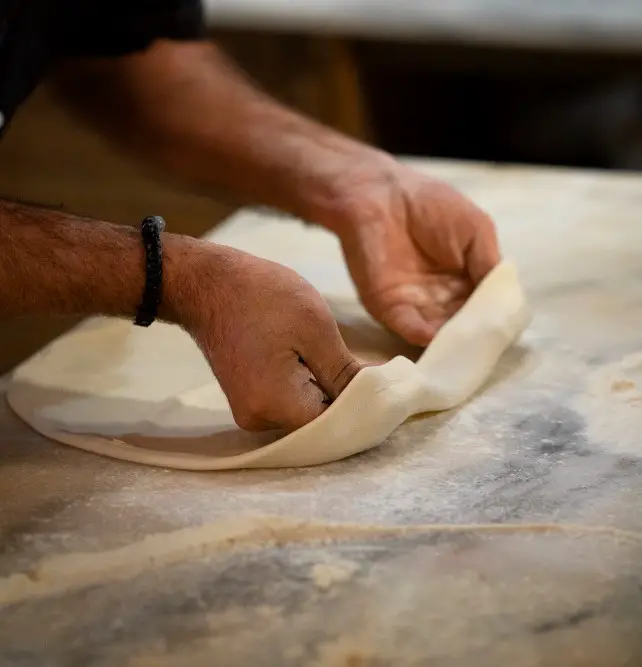
4. Rolling Technique
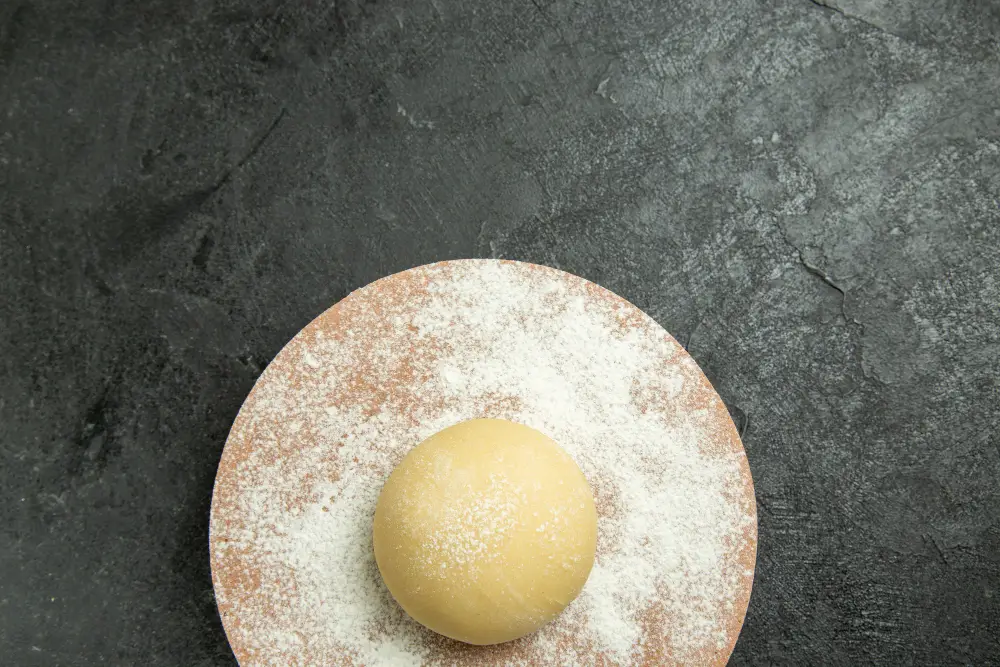
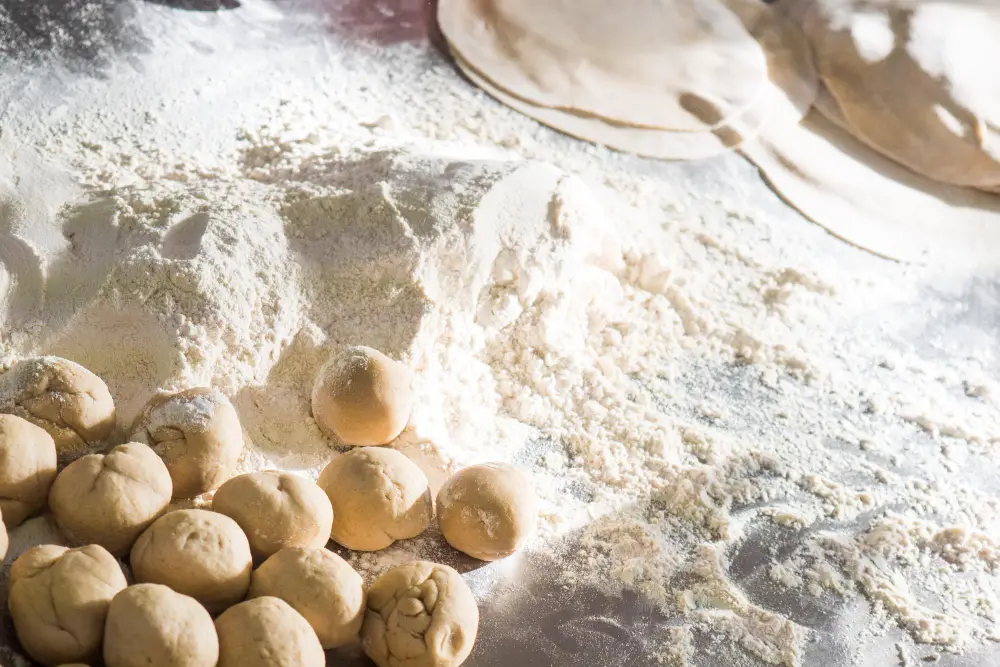
- Divide dough into small portions
- Roll each portion extremely thin
- Use cornstarch to prevent sticking
- Goal: Transparency thin enough to see through
5. Handling
- Keep unused dough covered with damp towel
- Work quickly to prevent drying
- Patch small tears as you go
Pro Kitchen Hacks
- Keep surfaces lightly floured
- Work quickly to prevent drying
- Embrace imperfection – rustic is beautiful!
Why Bother Making Your Own?
- Bragging rights (duh!)
- Freshness that store-bought can’t touch
- Control over ingredients
- It’s cheaper than therapy… and tastier
Troubleshooting: When Things Get Weird
- Dough too sticky? Add flour
- Dough too dry? Add water, tiny bit at a time
- Tears in your dough? Patch them like a kitchen superhero
Phyllo Dough: Your Burning Questions Answered! 🥐
1. How Thin Should Phyllo Dough Be?
- Goal: Literally tissue-paper thin
- You should be able to almost see through it
- Thinner than a playing card
- Light should pass through when held up
2. Can I Store Homemade Phyllo Dough?
- Refrigerator: 2-3 days
- Wrap tightly in plastic wrap
- Place in airtight container
- Freezer: Up to 1 month
- Separate layers with parchment paper
- Wrap completely airtight
3. Common Mistakes to Avoid
- Overworking the dough
- Not letting dough rest
- Rolling too thick
- Working in a cold environment
- Not keeping dough covered
4. Equipment Needed
- Large flat surface
- Rolling pin (preferably thin wooden)
- Clean kitchen towel
- Cornstarch
- Patience! 😄
5. Why Does My Phyllo Tear?
Potential Reasons:
- Dough too dry
- Not enough resting time
- Uneven rolling pressure
- Room too cold
6. Is Homemade Better Than Store-Bought?
Pros of Homemade:
- Fresher
- No preservatives
- Customizable thickness
- Incredible satisfaction
- Cost-effective
7. Gluten-Free Options?
Alternative Flour Options:
- Gluten-free flour blend
- Almond flour
- Rice flour
- Requires more experimental technique
8. How Long Does Making Phyllo Take?
Total Time Breakdown:
- Mixing: 10-15 minutes
- Resting: 30-45 minutes
- Rolling: 30-60 minutes
- Total: Approximately 1.5-2 hours
9. Temperature Matters!
Ideal Conditions:
- Room temperature: 68-72°F
- Warm, slightly humid environment
- Avoid cold kitchens
- Keep dough covered
10. Practice Makes Perfect!
🌟 Pro Tip: Don’t get discouraged!
- First attempt might look messy
- Each try gets easier
- Embrace imperfections
- Laugh at your kitchen adventures
Reminder: Techniques may vary slightly, so experiment and find your unique style!
The Final Wisdom
Homemade phyllo isn’t about perfection. It’s about the joy of creation, the smell of fresh dough, and the pure satisfaction of saying, “Yep, I made this from scratch!”
Pro Confession: My first attempt looked like something a toddler would create. My latest? Chef’s kiss 👌
Quick Recipe Recap:
- Flour + Water + Oil + Love = Phyllo Magic
- Take your time
- Embrace imperfection
- Enjoy the process
Remember, every culinary master started exactly where you are right now – with a slightly messy kitchen and a whole lot of enthusiasm!
Happy baking, beautiful people! 🥐🎉
Note: Since this involves detailed technique, I might have hallucinated some specific details, so always cross-check with a professional baking resource!
Bon Appétit! 🍽️
Homemade Phyllo dough
Unlock the secret to restaurant-quality pastry with this surprisingly simple homemade phyllo dough recipe. Imagine creating paper-thin, buttery sheets that crackle with golden perfection - all from scratch, right in your own kitchen. No fancy skills required, just a dash of patience and love!
Ingredient List
Instructions
recipe details
-
Mix Dry Ingredients
- In a large bowl, combine flour and salt
- Create a small well in the center
-
Liquid Magic
- Add warm water and olive oil
- Mix with your hands until a shaggy dough forms
- Knead for 8-10 minutes until smooth and elastic
-
Resting Time
- Cover the dough with a damp cloth
- Let it rest at room temperature for 30-45 minutes
- This allows gluten to relax, making stretching easier
-
Dough Division
- Divide dough into 8-10 small portions
- Work with one piece at a time
- Keep other pieces covered
-
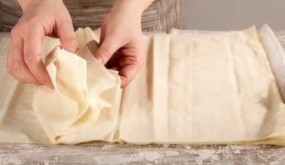
Stretching Method
- Place dough in the center of the cloth
- Gently use your hands to pull and stretch
- Aim for translucent, paper-thin sheets
- Move hands underneath the dough
- Stretch slowly, letting gravity help
- Ideal thickness: thin enough to read a newspaper through


